Have you stopped to wonder why your regular air conditioner seems not to work in your area? It is possible you live in the Pacific Northwest or Southwest USA. These geographical areas tend to be hot and dry with very low humidity. So, what can you do to cool and humidify the air? The answer is in what we’ll call a portable swamp cooler. And you are about to learn how to make a DIY swamp cooler.
What Is A Portable Swamp Cooler?
This is a simple device that offers a simple solution to the inadequacies of regular air conditioning in hot dry areas with low humidity. The beautiful thing is that you can design and build it from scratch using readily available household items.
Also known as evaporative coolers, these DIY air conditioners are capable of lowering temperatures by up to 20 to 30 degrees. They also provide the much-desired humidity in hot and dry areas. It utilizes a simple technique that pulls air via a fan across a wet pad.
The extent to which the portable swamp cooler will cool a room depends on its size. In other words, the evaporative capacity of the cooler depends on the amount of cool air you can move through it. This calls for your creativity.
The beauty of knowing how to make a portable swamp cooler is that you can completely go off-grid and still be able to enjoy homely comfort. This is the skill you’ll need to be self-reliant and self-contained in an outdoor environment. You can even use this DIY device you cool your greenhouse. It sounds so awesome, right?
Going back to our original purpose, how do you make a portable swamp cooler?
Here Is What You’ll Need
Most of the tools and items you will need for this DIY project are available at your local hardware store. Some are available right in your house. Even if you are to buy them, most of the tools are multipurpose and therefore you can use them for other future projects other than this. Therefore, it is a worthy investment.
1. Power Supply
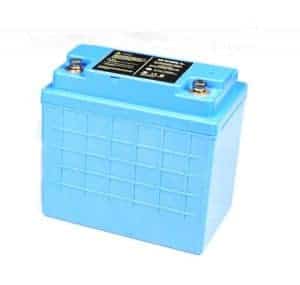
A power supply could be anything. However, it would be wise to choose a power source from an old electronic item with an instance power supply. This will be the power supply for the fan. Ensure the voltage of the power supply matches that of the fan. You can even connect to a portable solar source to run constantly.
2. Fan, Shroud, and Mounting Hardware
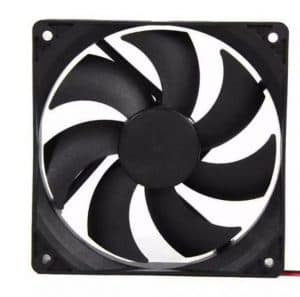
You can obtain a used fan from any source provided it fits your needs. I would recommend a 120mm computer fan. This is because of its low voltage rating (at 12V). In fact, almost all computer fans are rated 12V. Household fans, on the other hand, are rated 120V. Try as much as possible to match the voltage rating of the power supply with that of the fan.
3. Drill and Bits
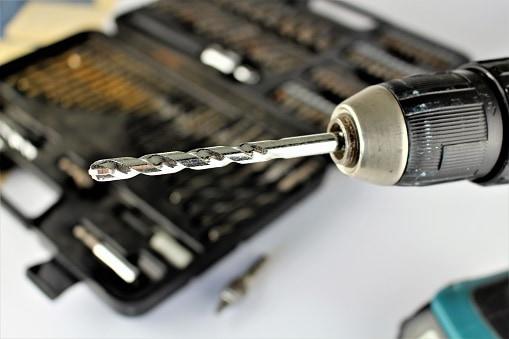
It is great to have a drill and appropriate bits. At the bare minimum, go for a large one as well as one with a range of 11/64. The smaller rage is important if you will be using a computer fan like the one we mentioned. If you cannot afford drill and bits, simply use an appropriate cutting instrument and an assortment of awls.
4. Swamp Cooler Padding

In order to make a portable swamp cooler, you will need absorbent breathable padding from any hardware store close to you. If your finances cannot allow you, an old cotton t-shirt could work just fine. In fact, any sponges made from cotton would work perfectly. The problem is that these may not allow the passage of much air. A better option would be paper towels.
5. Soldering Iron
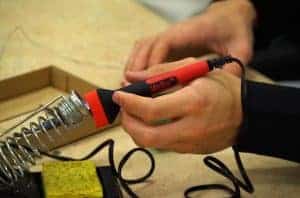
A soldering iron is optional. You may only need it if you plan to do solder or shrink-wrap or tape your connections. I’d recommend soldering as it will guarantee strong connections. In case you do not consider soldering, ensure you make strong connections. This will protect you, your family, and your pets from unnecessary risks of electrocution.
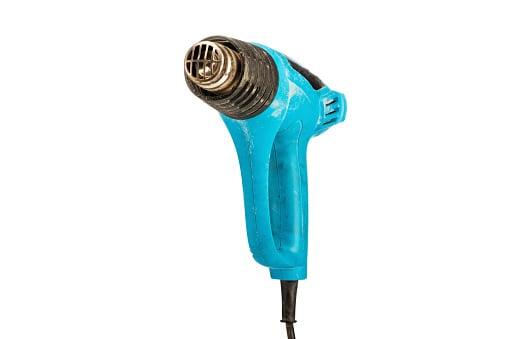
6. Heat Gun
A heat gun is only necessary if you plan on using a shrink wrap. Alternatively, you can use a blow dryer or even a cigarette lighter if you cannot afford a heat gun. I would strongly recommend you go for a heat gun. For instance, a heat gun meant for removing paints is cheap but also works incredibly in shrink wraps.
7. Container
The appropriate container to make a portable swamp evaporative cooler could be anything. However, you have to ensure that it has a large enough surface to allow space for mounting the fan. You need to keep in mind that the capacity of the evaporator depends on the size of the container. A disposable Tupperware container works well with smaller fans. For a big fan, I would recommend you go for a bucket or a similar size container.
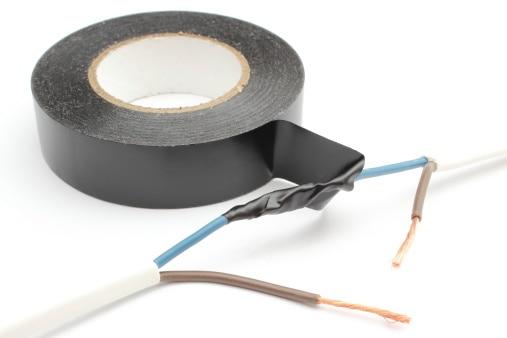
8. Shrink Wrap, Butt Connectors, Or Electrical Tapes
These items are necessary if you are not going to solder your swamp cooler. You need to find a way to isolate the connections from the outside environment and from one another. A shrink wrap works fine. Electrical tapes also work well but you may still need to solder connections. Butt connects may also work. However, they have the tendency to wiggle loose with passing time.
9. Scissors
Choose the cheapest pair of scissors you can find. If a pair is lying around then you’ll not need to buy one. This item will make your work much easier. A pair of scissors is great in cutting random items you will need to make a portable swamp cooler.
You may also need screwdrivers, wire, and pliers. However, you can easily do without them since most of the things these items can do other items already listed can also do.

Steps and Instructions
Now that you have assembled all that you need for the project, it is time to embark on the actual job. The following six easy and straightforward steps will ensure you have your new DIY swamp coolers in just a few minutes. You do not need to be ingenious to understand and follow the steps.
Step 1: Create a Hole for the Fan
The first thing is to cut out a hole in the surface of the container for the fan. The hole should be about the size of the fan blades. There is an easy and efficient way to ensure the measurement is accurate. Simply place the fan on the surface of the container. With a pencil or other marker, trace a line on the outer border of the fan.
Once you have a complete line, remove the fan. Use your scissors or another appropriate cutting tool to cut along the traced line. Try as much as possible to cut the hole right at the center of the container surface if you have a small surface. Cut all the way through and remove the cut portion.
Step 2: Mount the Fan
Of all the steps in making a portable swamp cooler, mounting the fan is potentially the hardest. It requires some level of keenness, artistic skills, and calculations. The flimsier the surface is, the harder it is to mount the fan successfully. This is because flimsiness makes it hard to align the holes correctly between the surface, the fan, and the shroud.
Before fastening the fan with screws, make sure the fan is correctly oriented to direct the airflow through the container. Computer fans are great because manufacturers label the direction of airflow. If you mount the fan wrongly, it may draw air in a reverse direction. This may not provide the desired effects.
If you need electronics manufacturing services (ems) visit jnaindustries.com
Step 3: Create the Intake Holes
This is another important step. You have to be judicious and smart when choosing the number of holes you want to create on the sides of the container. The number is affected by the size of the container, the type of material the container is made of as well as your desired evaporative capacity.
The holes will determine the amount of cold air that flows through your choice container and the reservoir you might want. Your goal should be to ensure the holes allow optimal airflow without necessarily compromising the structure of the container. Imagine drilling many holes into a small container. It may crack or even may change in shape.
The best tool to use is a high-speed drill but you can also use other tools such as a razor knife or even a pair of scissors. A Dremel is also a good alternative if you have access to one. In case you are using a drill, ensure you do not force the bit through the wall of the container. Try cleaning the holes as best as you can once you do all of them. This may not affect the performance of the swamp cooler you make. It is purely for aesthetic purposes.
Step 4: Lay the Padding
Padding plays an important role in soaking up water. The swamp cooler padding available in the market is often inexpensive. However, they may not be as good as other padding such as wet paper towels (sorry for my bias). I love wet paper towels because they will soak water even if only a small portion is immersed. Within a few minutes, the entire thing will be soaking wet.
Nevertheless, good padding should also be permeable enough to allow fresh air to pass flow through it. Cut the pads a little bigger than the container and then trim them back to the fitting size. This is because any spaces left will act as wastelands where no cooling happens. Such a thing will reduce the efficiency of the cooler.
The trimmed pieces of pads are not wasted anyway. You can use them to fill in any gaps still evident in the padded areas. After laying the swamp cooler padding, try closing the lid of the container to see if it will fit well. If the lid seems to be low lying or ill-fitting, be sure to trim off the excess pads. Avoid squeezing the cooling pad as this will limit airflow through the container.
Step 5: Powering the Fan
This step is a bit technical especially if you are using a computer-type fan. You must know the voltage rating of the fan and ensure it is comparable to that of the power supply. You can only mismatch if you have the technical know-how. The potential for electrocution is real here. So, you need to be extra careful not to touch things inappropriately.
Depending on the fan type you use, most brands will have wires labeled accordingly. Ensure you locate the negative and positive wires of the power supply and solder them to the corresponding terminals on the fan. Soldering is not a very hard thing to do as long as you have the appropriate tools. Ensure you have a good hot joint that will not come loose with time. The solder must pass through both wires to establish a reliable connection.
After establishing the connections and ensuring they are well done, slide the shrink wrap over them. Proceed and heat the two connections (positive and negative) together at the same time. You can then slide a larger shrink wrap over the two connections and heat it.
In case you do not feel safe using a power supply, a 9v battery would do just fine for smaller fans. In the outdoor environment, you can use a solar panel to provide you with the electric power you need to run the fan.
Step 6: Finish Up and Test Your Work
You can turn on your power supply switch and see what happens. Do not panic if the fan fails to start immediately. It could be a small mistake. All you need to do is investigate where the problem, correct it and try again.
If the fan works plug it out and fill up the container. Ensure the water does not drip all over your working area. Just fill it up with enough water. Clear your working area by collecting all the tools you used and storing them. Also, get rid of any clutters so that you leave the area clean and well organized. This will allow you to appreciate your work.
There you go! Test your new DIY cooler and see how this simple device can cool your house or room. You can share your experiences with a homemade swamp cooler.
Final Verdict
This is one of the best resources for those who have been looking for instructions on how to make your own DIY swamp cooler. The steps are few, easy to understand, and follow. You do not need to be technically savvy in order to pull this off. As you will see, you don’t need to spend a lot of money to make a portable swamp cooler. All you need are your DIY skills. This device offers the best way to deal with hot air and dry summer heat in areas with very low humidity. Now it’s time to make a portable swamp cooler of your own!
